Who receives emails
AutoReceipts sends the email to the contact on the Xero invoice or bill.
- For an invoice, this is the customer the invoice was issued to.
- For a bill, this is the supplier the bill was received from.
The email is sent to the Primary Person stored on the Xero contact.
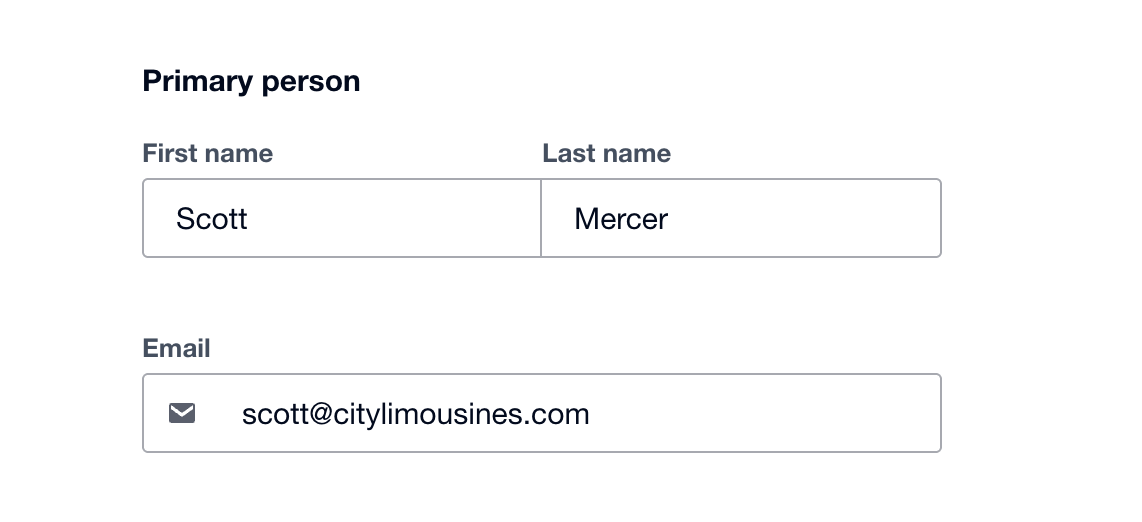
Make sure contacts have email addresses
AutoReceipts cannot send an email if the contact does not have a primary email address.
Keep your Xero contact details up to date to make sure emails are delivered correctly.
Additional people
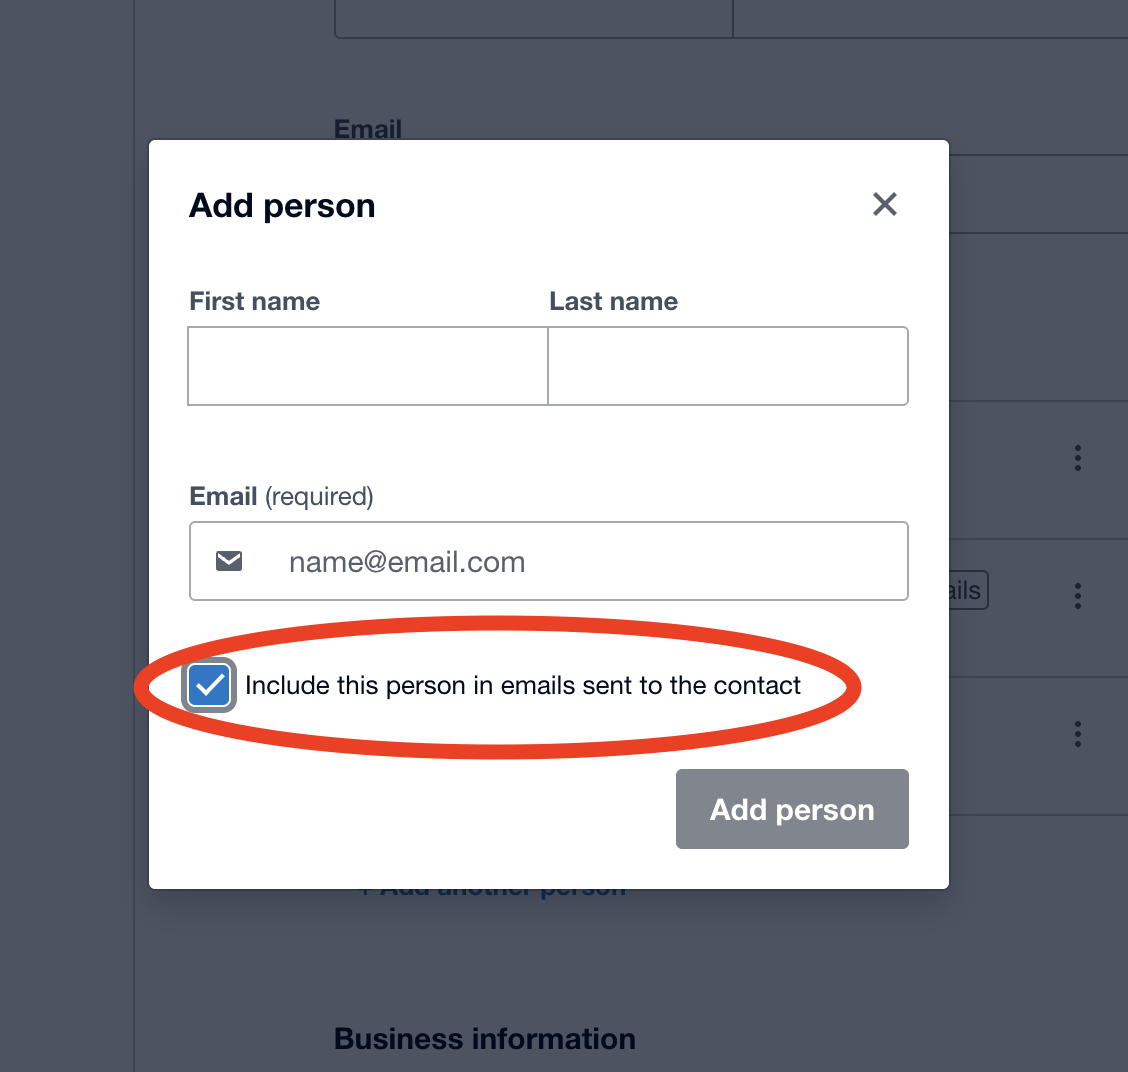
If a contact has additional people, AutoReceipts will CC the ones who have Include this person in emails sent to the contact enabled.
Receive copies of all emails
You can configure all customer and supplier emails to be CC'd or BCC'd to an address (or addresses) of your choice.
This is recommended so you have a copy of every email sent to your customers and suppliers.
Go to your organisation's settings page to add a CC or BCC address.
Choose which contacts receive emails
By default, AutoReceipts sends emails to every eligible contact.
You can change this behaviour in two ways:
- Exclude a small number of contacts
- Only send emails to selected contacts
Exclude certain contacts
Use this option when most customers and suppliers should receive emails, but some should not.
Create a contact group in Xero named No AutoReceipts, then add any contacts
that should not receive emails.
Create the contact group
- In Xero, go to Contacts > All contacts.
- Click Groups > New group.
- Enter
No AutoReceipts. - Click Create.
Add contacts to the group
- Go to Contacts > All contacts.
- Select the contacts you want to exclude.
- Click Add to group above the contact list.
- Select
No AutoReceipts. - Click Add.
Contacts in this group will not receive receipt or remittance advice emails from AutoReceipts.
Only email selected contacts
Use this option when only certain customers and suppliers should receive emails.
Create a contact group in Xero named Send AutoReceipts, then add the contacts
that should receive emails.
Create the contact group
- In Xero, go to Contacts > All contacts.
- Click Groups > New group.
- Enter
Send AutoReceipts. - Click Create.
Creating this group automatically enables selected contacts mode. AutoReceipts will only send emails to contacts that belong to the group.
Add contacts to the group
- Go to Contacts > All contacts.
- Select the contacts you want AutoReceipts to email.
- Click Add to group above the contact list.
- Select
Send AutoReceipts. - Click Add.
When the Send AutoReceipts contact group exists:
- Contacts in the group will receive emails.
- Contacts not in the group will not receive emails.
To return to the default mode, in which AutoReceipts sends emails to all
eligible contacts, delete the Send AutoReceipts contact group.
Note
If a contact belongs to both groups, No AutoReceipts takes precedence.
AutoReceipts will not email the contact.